After you open the PLAYSTATION 3 program, the home page is displayed.Note: Using Wireless ControllerDirectional buttons (Left, Right, Up, Down): Used to select on-screen categories/items.X button: Confirms the selected item.O button: Cancels an operation.PS button: Displays the home menu and turns the system on/off

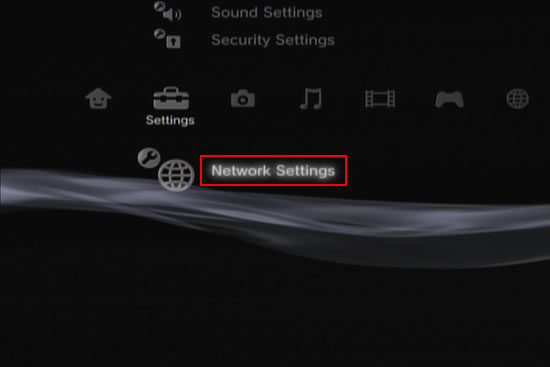
Use the Left button to select the Settings icon from the top menu

Select Network Settings under the Settings section in the home menu, and then press the X button on the Wireless Controller
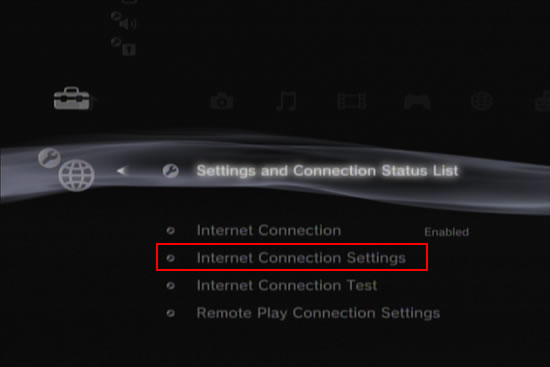
Select Internet Connection Settings.
Press the X button to continue
Press the X button to continue
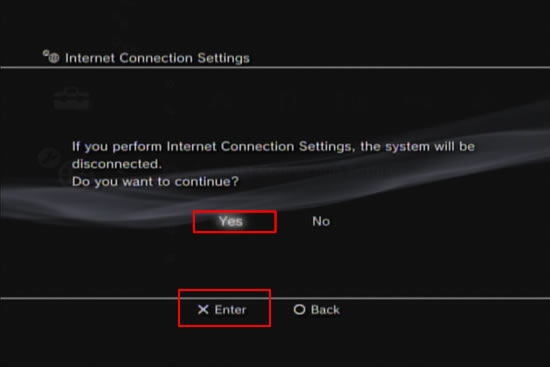
Select Yes when a confirmation screen is displayed stating that you will be disconnected from the Internet.
Press the X button to continue
Press the X button to continue
Adjust each item as necessary for the particular network environment in use. The items displayed will vary depending on the settings you select.
Select Wireless and then press the Right button on the Wireless Controller
Select Wireless and then press the Right button on the Wireless Controller

Scan: Scan for a nearby access point.
Select this setting when you do not know the SSID of the access point. The system will detect nearby access points and display information on the SSID and security settings.Enter Manually: Specify the access point by entering its SSID manually using a keyboard.
Select this setting when you know the SSID.Automatic: Use the automatic setting feature of the access point.
This setting is available only in regions where PS3T systems that support this feature are sold. Select this setting when using an access point that supports automatic setup. Follow the on-screen instructions.
Select Scan and then press the Right button

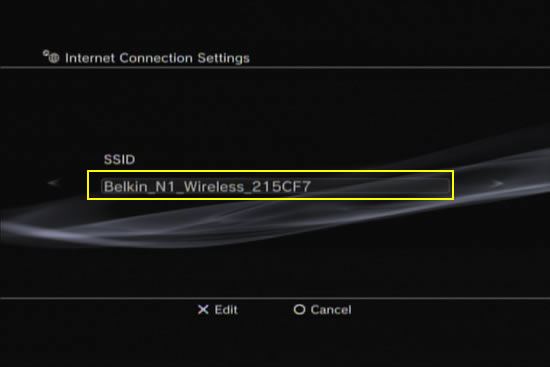
An access point within the range of the system is displayed.
Press the Right button to continue
Press the Right button to continue
The types of security methods supported vary depending on the access point. Contact the person who sets up or maintains the access point for assistance.
Select the security settings as necessary. By default, None has been selected.
Press the Right button to continue
Select the security settings as necessary. By default, None has been selected.
Press the Right button to continue

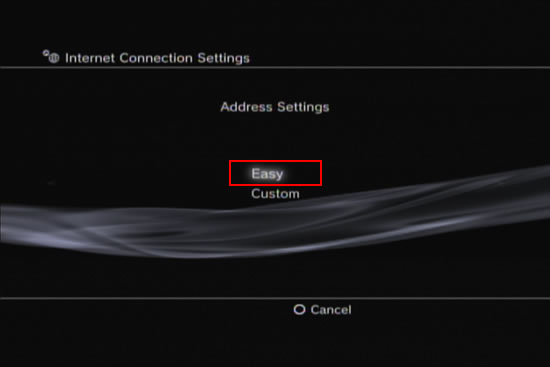
Adjust the network settings to match your network environment.Easy: Automatically set basic settings.Custom: Manually enter detailed information for settings such as the following:
- Ethernet Operation Mode
- IP Address Setting
- DNS Setting
- MTU
- Proxy Server
For details, refer to the information provided by your ISP or the instructions supplied with the network device.
Select Easy and then press the Right button
Select Easy and then press the Right button
The network configuration is in progress

Automatic: Use the IP address allocated by the DHCP server. You can enter the DHCP server host name on the next screen.Manual: Set the IP address manually.
You can enter values for the IP address, subnet mask, default router and primary and secondary DNS on the next screen.PPPoE: Connect to the Internet using PPPoE.
You can enter your user ID and password on the next screen.
Select Automatic and then press the Right button to continue
You can enter values for the IP address, subnet mask, default router and primary and secondary DNS on the next screen.PPPoE: Connect to the Internet using PPPoE.
You can enter your user ID and password on the next screen.
Select Automatic and then press the Right button to continue

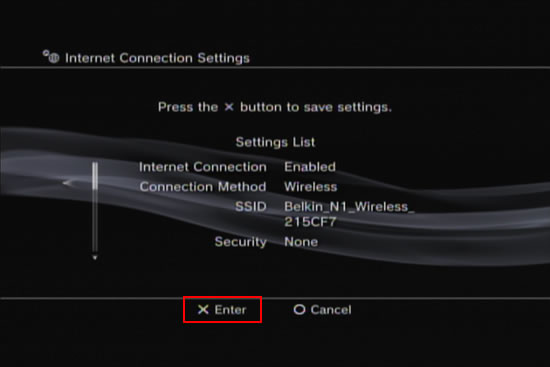
Press the X button to save settings
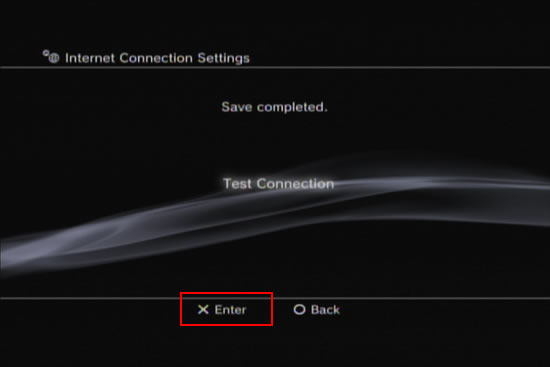
If you select Test Connection, the system will attempt to connect to the Internet.Note: If a successful connection has been made, information on the network will be displayed.
If the connection fails, follow the on-screen instructions to check your settings. Also refer to the information from your Internet service provider and the instructions supplied with the network device in use.
If you test the connection immediately after selecting [Automatic] > [AOSS] in step 7, the router settings may not be completed and the connection may fail. Wait approximately 1 or 2 minutes before testing the connection.
Press the X for test connection
The Internet Connection has failed because we used dial-up to connect to the Internet in this walk through.Note: The test connection requires broadband or cable to connect to the Internet
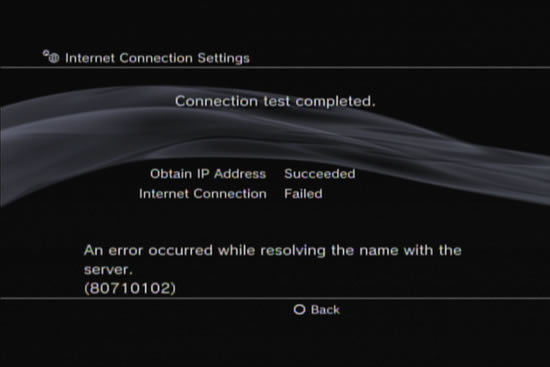
This concludes the Wireless Setup walk through
No comments:
Post a Comment